- Comments (0)
- Jul 07, 2013
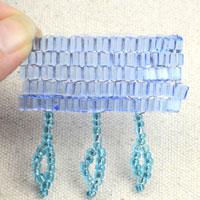
Leaf fringe 2
Summary: This is the second tutorial on how to create a leaf fringe and it is just as beautiful as the first one. However, this method is a little different from the Leaf Fringe 1 technique. Like other bead fringe techniques, this kind of leaf fringe can be added to any stitch. It’s a great decoration to add to your jewelry or to other beaded items. Follow our instruction to learn how to do it.
Instructions:
Step 1: Make stem of the first leaf fringe.
1st, pass the wire through the side of a section of the beadwork where you would like the fringe to begin;
2nd, slide the desired length of beads onto the wire;
3rd, skip the last bead strung and pass back through the before-last bead;
4th, pull the wire tightly.
.jpg)
Step 2: Make the first leaf.
1st, slide three beads onto the wire;
2nd, skip the next three beads and pass the wire through the next three beads.

Step 3: Make the second leaf.
1st, slide six beads onto the wire;
2nd, skip the last bead added and pass back through the next bead;
3rd, pull the wire securely;
4th, slide three beads;
5th, skip the next three beads and pass the wire back through the next bead;
6th, continue to pass the wire back through the next three beads.

Step 4: Follow the steps shown below until you reach the desired outcome.

Step 5: Repeat above steps to make other leaves until you get desired amount of leaves. And weave the wire back through the beadwork until you reach the edge.

Step 6: Cut off the extra wire.

Congratulations! You have mastered this bead fringe technique.