-
like (4)
- Comments (0)
- Feb 25, 2016
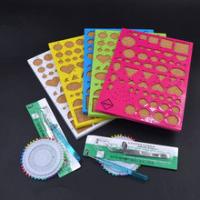
Basic Paper Quilling Shapes Instructions
Summary: These paper quilling instructions will help you get started on the amazing art or paper quilling.

Here are the basic shapes that are frequently adopted in quilling. The step-by-step instructions will help you to create each shape. Once you have mastered these, you will be able to create almost any quilled design!
Basic Shapes in paper quilling crafts:
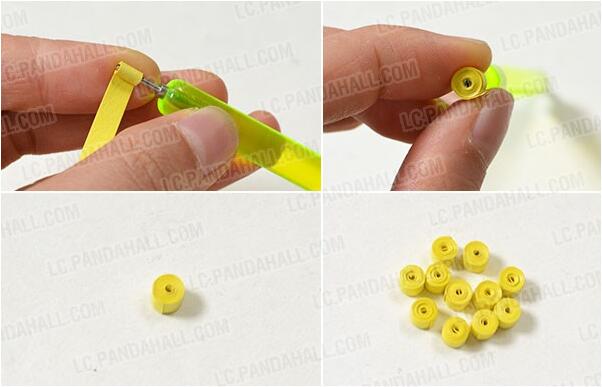
Tight Rolled Coil
Roll strip of paper with a rolling pen;
Slide the rolling pen while holding the strip;
Make it tight and glue the tail.
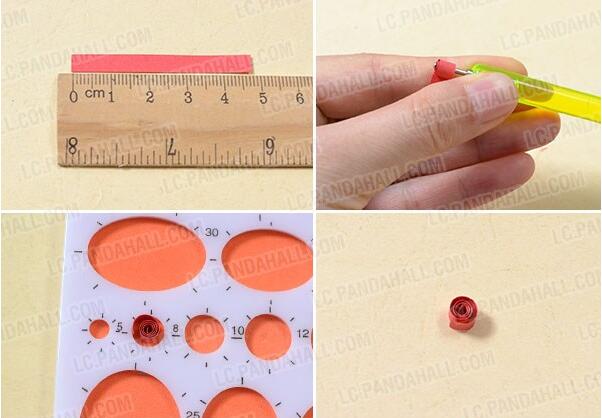
Loose Rolled Coil
Roll strip of paper with quilling pen;
Slide off the pen;
Release and allow coil to expand;
Glue the loose end down.
Eccentric Coil
Roll a loose coil;
Pull center of coil to edge and glue in place.

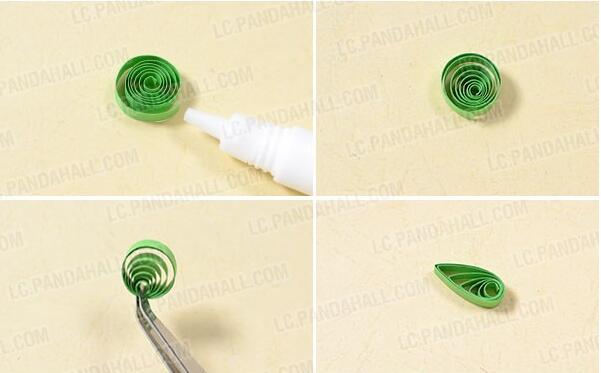
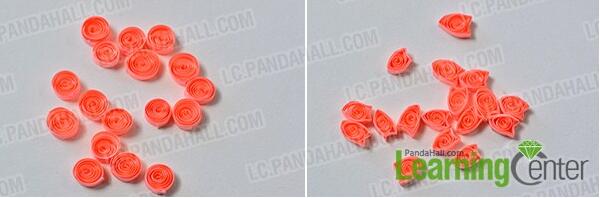
Tear Drop
Roll a loose Coil;
Pinch one side of coil to a point to shape a tear drop.
Shaped Tear Drop
Roll a closed loose Coil;
Pinch one side of coil to a point. Bend point slightly to one side.

Tulip
Roll a closed Coil;
Hold coil in fingers and using thumbs and index fingers gently press into 3 points making middle point slightly higher than ends.
Half Circle
Roll a closed loose coil;
Hold coil in fingers and gently press top with thumbs until approx. 1/3 of coil is indented and pinch points at each end of indentation.

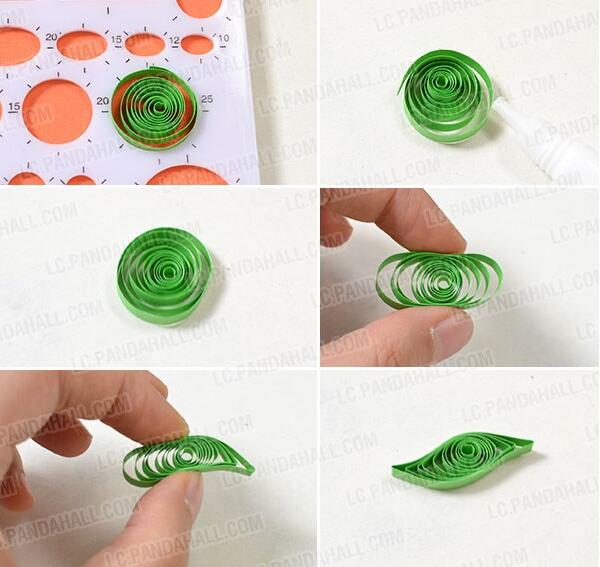
Marquise
Roll a closed loose coil;
Pinch both sides of coil to a point.
Shaped Marquise
Roll a closed loose coil;
Pinch both sides of coil to a point. Bend points slightly in opposite direction.
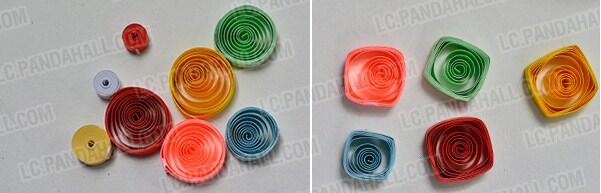
Square
Roll a closed loose coil;
Pinch both sides of coil to a point (marquise);
Pinch two more points between first two points.
Rectangle
Roll a closed coil;
Pinch both sides of coil to a point (marquise);
Pinch two more points approximately 1/3 distance between first two points.
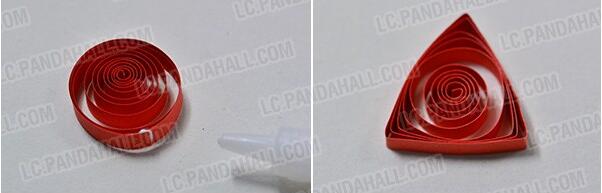
Triangle
Roll a closed coil;
Pinch one side of coil to a point (teardrop);
Pinch two more points equal distance from first point to top of curve.
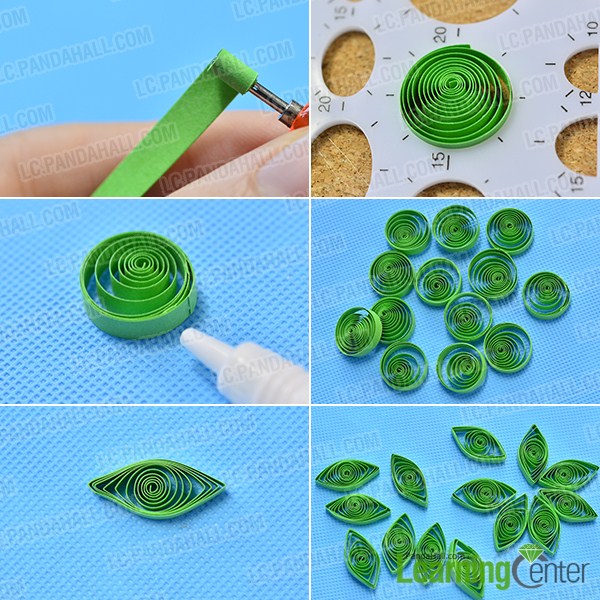
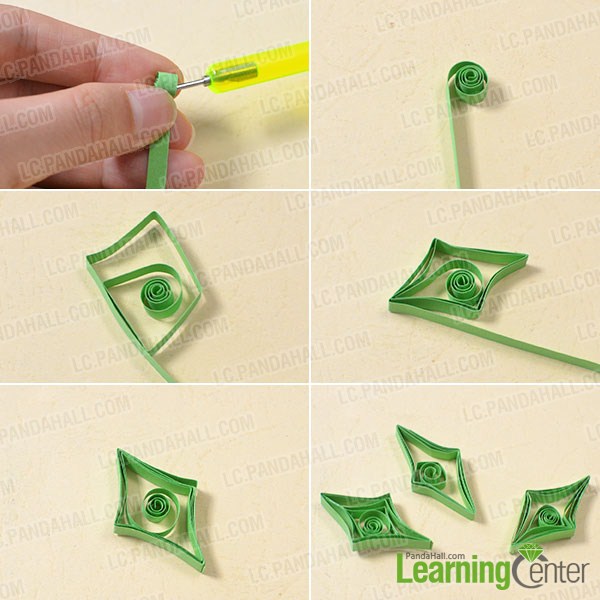
The holly leaf
Use a rolling pen to roll it into a circular petal and use the white glue to glue the ends together (as shown in the picture);
2nd, use tweezers to make a holly leaf with the circular petal.

Diamond
Pinch both sides of coil to a point (marquise);
Pinch two more points between first two points (square);
Press one set of opposite points slightly toward left and other set of points slightly toward the right.
Basic scrolls in paper quilling crafts:
Loose Scroll (or open coil)
Roll strip of paper on quilling tool;
Release and allow coil to expand;
Leave as is for open coil, or pull portion of loose end straight to make loose scroll.

V Scroll
Fold strip of paper in halves;
Roll each end outward toward the fold in paper.
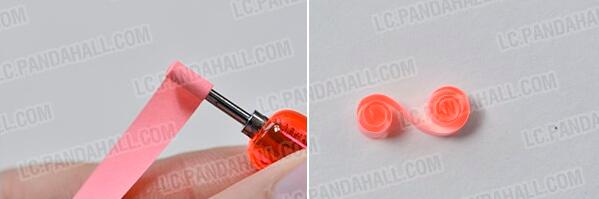
S Scroll
Roll one end to paper toward center;
Roll other end in opposite direction toward center.
Heart Scroll
Fold strip of paper in halves;
Roll each end of paper inward toward fold in paper.
C Scroll
Roll each end of paper in same direction toward center of paper.
I hope these basic paper quilling instructions will help you on your way to an exciting and beautiful new hobby. Search the quiling craft on this site for projects to make.