- Comments (0)
- May 27, 2013
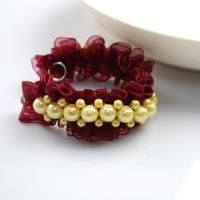
How to make diy adjustable bracelet
Summary: I don’t know how you make your own bracelet, but here is some practical guidance on how to make bracelet patterns with beads. You can make this diy adjustable bracelet to yourself or send it as a gift others as well.
Blue sky and wide sea can often make us feel fresh, salubrious and relax, what do they have in common? Yes, they are all blue. So I hope the “diy adjustable bracelet” project I will show you later can make you feel good, too.

Materials and tools you will need while you are making bracelet patterns with beads
8mm turquoise beads
Headpins
Jumprings
Lobster claw clasp
Silvery end chain
Flat nose plier
Side cutting plier
Round nose plier

How to make the diy adjustable bracelet?
Step1: make units for the bracelet
1. Thread a bead on the headpin, leave a short distance that can make a loop and snip off the extra part, make a loop with the round nose plier. We can call it unit1.

2. String a bead on eyepin and make a loop too. This is unit2

3, now you should make more of the two kind units.

Step2: link unit2 together
1. By using jumprings, you can link the whole unit2 together. Hang the unit1 between each of the two units2

Step3: add on clasp and chain
Add on the clasp and chain; remember to hang a unit1 on the end of the chain.

Now the whole bracelet patterns with beads have been done! You can transfer size of the diy adjustable bracelet according to the size of your wrist. It is a good design right? I hope you can try and make it!