- Comments (0)
- Dec 28, 2015
Pandahall Tutorial on How to Make Braid Friendship Bracelet
Summary: As you know, bracelets are an indispensible part for women. So in today’s Pandahall tutorial, I am going to show you how to make braided bracelets within 20 minutes. Hope you like it.

Hey guys, do you have an interest in jewelry making? If yes, how about making easy braided bracelets? I think it’s a great choice for jewelry making beginners. It’s also pretty funny and easy to make! Please follow me to see HOW!
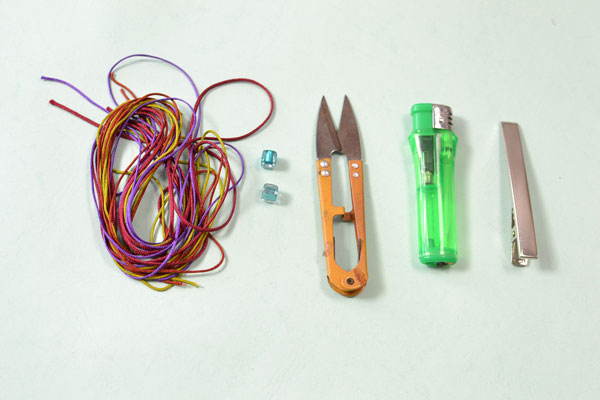
Jewelry making supplies needed to make the DIY braided bracelet:
Transparent acrylic cube beads (light blue)
2mm nylon threads(orange, red, purple, yellow)
Hair clip
Scissors
Lighter
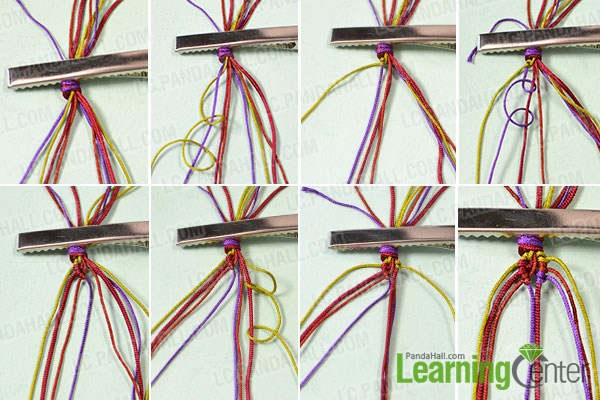
Step 1: Make the base of the DIY braided bracelet
1st, cut 8 strips of nylon threads of proper length, showing like the picture below;
2nd, tie a knot in the middle of the threads and fix them with a hair clip;
3rd, wrap the left yellow thread around the left purple thread;
4th, wrap the purple thread around the red one;
5th, wrap the orange thread around the red one;
6th, make the right side base in the same way mentioned above.
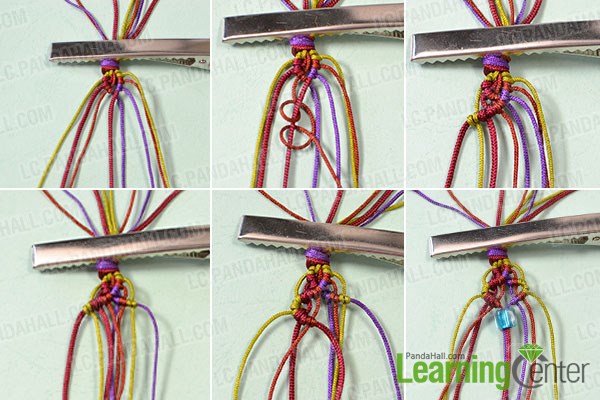
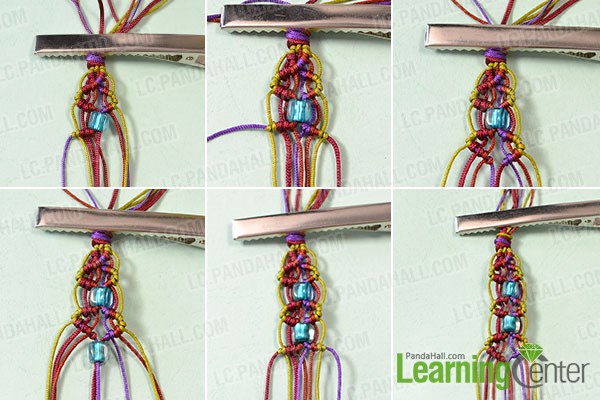
Step 2: Add beads on the bracelet
1st, wrap the orange, red and yellow thread on the left side around the red one on the right side;
2nd, wrap the purple, orange and yellow threads on the right side around the purple one on the left side;
3rd, continue to wrap the orange, red and yellow thread on the left side around the red one on the right side;
4th, make the base on the right side in the same way, please see the picture below;
5th, add the blue acrylic bead on both of the purple and red threads, showing as the picture below.
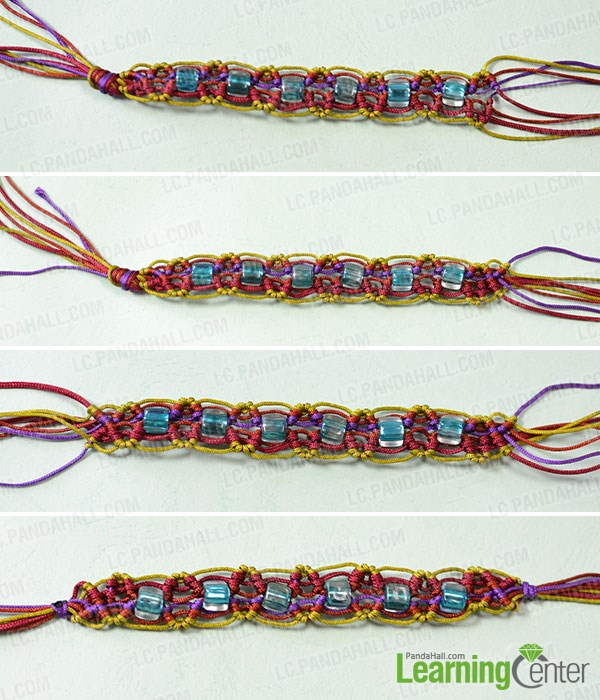
Step 3: Slide more beads on the cord braided bracelet
Continue to wrap the threads according to the same way mentioned in Step 2.
Step 4: Finish the ends of the easy braided bracelet
When the bracelet is enough long for your wrist, you can make a knot on both ends of the bracelet by wrapping the purple thread around other threads, showing as the picture below.
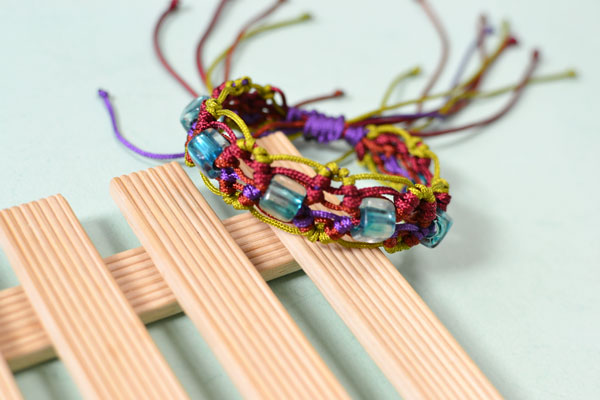
Step 5: Finish the DIY braided bracelet
1st, combine the right threads and left threads together;
2nd, cut a certain length of thread and fix them by wrapping around them, please see the picture below;
3rd, cut the excess threads and smooth the ends with a lighter.

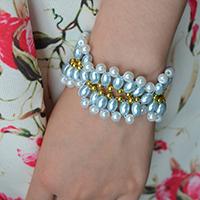
Here is the final look of the DIY cord braided bracelet with beads.
Wow, it’s a stunning braided bracelet, right? As you can see, it’s pretty easy to make such a nice bracelet. Besides, you can enjoy yourself during the process. Anyway, hope you like this Pandahall tutorial and if you have any questions, please feel free to ask me or leave a comment. Wish you a good day!