- Comments (0)
- Nov 30, 2015
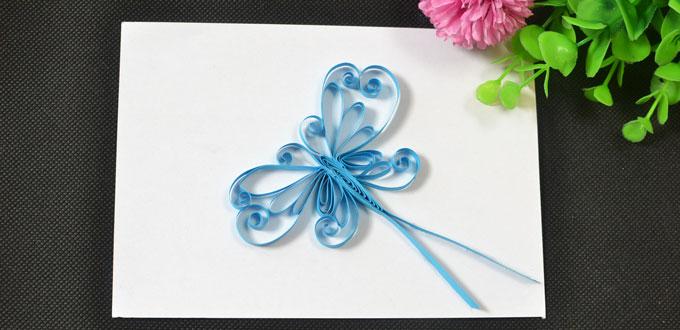
Pandahall’s Free Tutorial on How to Make a Handmade Quilling Paper Butterfly Card
Summary: Do you love handmade quilling paper art? In this article, I will show you how to make a quilling paper butterfly card.
As the Christmas and New Year festival are coming, I try to show you more handmade quilling paper art designs, such as quilling paper Christmas tree, Christmas garland, quilling paper flower cards, earrings, etc. They are really popular. Now, I will tell you a way to make a quilling paper butterfly card. The blue butterfly is so lively and beautiful. I love this quilling paper butterfly very much. Hope you like it as well.
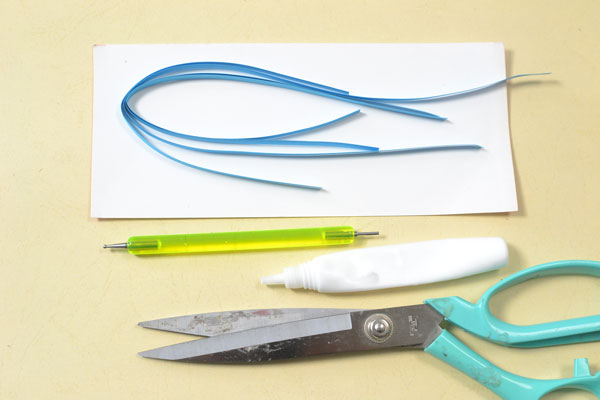
Supplies in making a handmade quilling paper butterfly card:
Blue Quilling Paper
Quilling Card
Rolling Pen
Scissor
White Glue
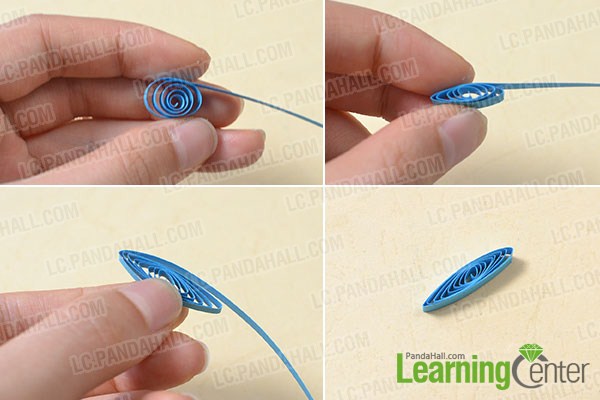
Step 1: Roll the stomach of the butterfly
1st, cut a piece of blue quilling paper, roll it into a circular shape;
2nd, pinch the circular item into an oval as pictured and stick the end.
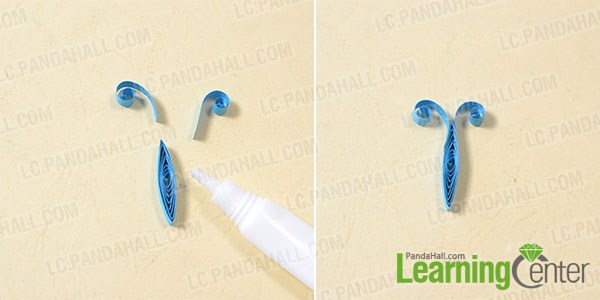
Step 2: Add 2 tentacles
Cut 2 short pieces of quilling paper, roll part of the the ends into a circle and stick them to the stomach.
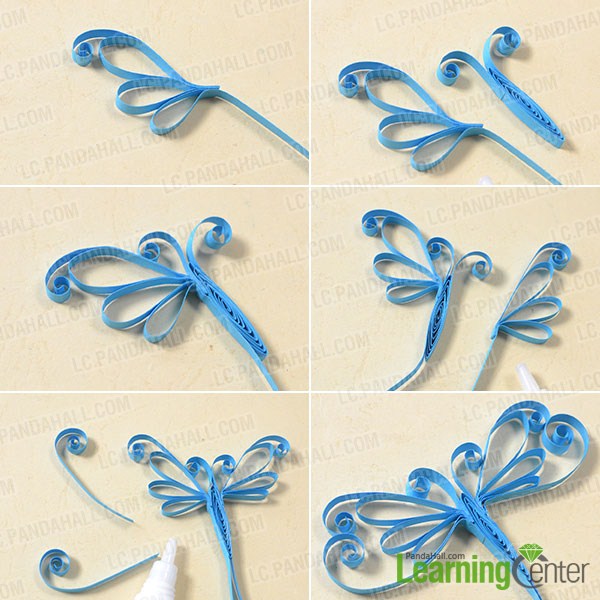
Step 3: Add the main wings
1st, cut 3 pieces of quilling paper (with a length about 8cm, 6cm, 4cm), stick them together as the left wing;
2nd, cut a short piece of quilling paper with a length about 6cm, roll part of one end and stick it to the wing as pictured;
3rd, cut another piece of quilling paper, stick it to wing’s below, then stick the whole wing to the stomach;
4th, repeat the 2nd step and the 3rd step to make the right ring and stick it to stomach;
5th, cut 2 pieces of quilling paper with a length about 8cm, roll part of the ends and stick them to the 2 sides of stomach as pictured.
Step 4: Add other patterns
1st, cut 4 pieces of quilling paper (with a length about 4cm, 6cm), stick the shorter ones as oval, roll the longer ones as pictured and stick them together, then stick them to the stomach;
2nd, cut 2 pieces of quilling paper, roll them as circular beads and pinch them to oval as pictured, then stick them to the below of the big wing pattern;
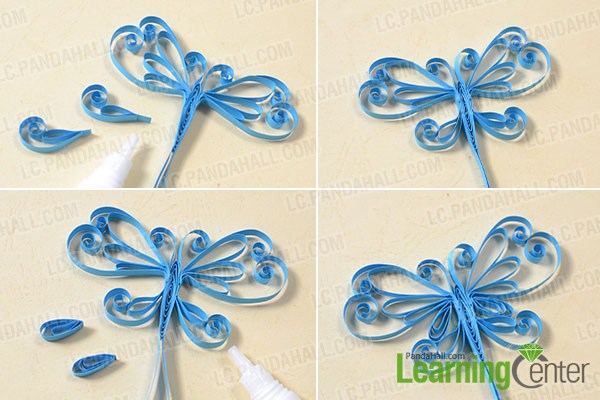
3rd, paint glue on one side of the butterfly and stick it to the quilling card.
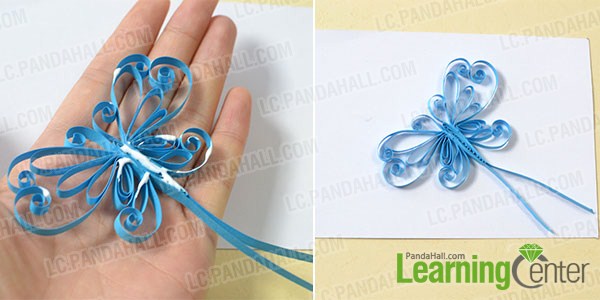
Done! Do you like this handmade quilling paper butterfly card?
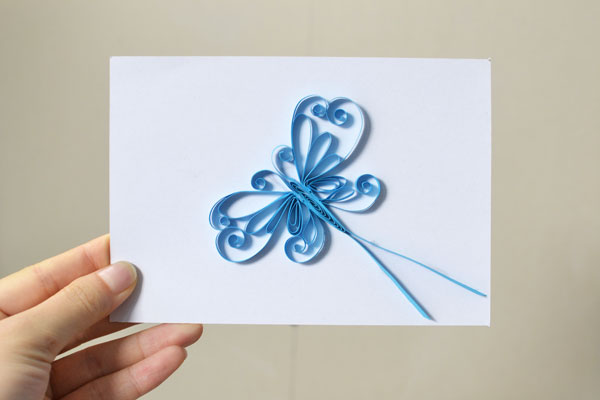
Now, my tutorial on making a handmade butterfly card has come to an end. It looks lifelike, right? The length of the wings is imprecise, and you can make them according to your own feeling I believe you will enjoy the time in making such a quilling paper butterfly card. Have a nice try!

