- Comments (0)
- Oct 29, 2015
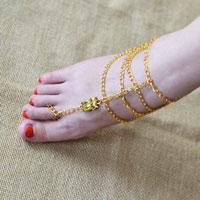
DIY Chain Jewelry - How to Make a Bead and Chain Shoulder Jewelry
Summary: Looking for shoulder jewelry? This tutorial will show you how to make a bead and chain shoulder jewelry.

You can see a lot of DIY chain jewelry on our website. This article is going to show you one more - chain shoulder jewelry. From the above picture, we can see that the main supplies are silver chains and beads. The perfect adornment of the beads makes this chain shoulder jewelry shining. Here is how to make the shoulder jewelry.
Materials and tools needed in DIY the chain shoulder jewelry:
14x4.5mm Pink Faceted Flatback Cabochon
6mm White Round Pearl Beads
15x10mm Clear Faceted Oval Beads
18x13x4mm Clear Faceted Drop Cabochons
8mm Clear Round Faceted Beads
40x53mm Silver Rectangle Filigree Findings
15x19x4mm Silver Brooch Cabochon
Silver Rhinestone Chains
Silver Twisted Chain
Silver Headpins
Silver Eyepins
Silver Jump Rings
0.3mm Silver Copper Wire
0.5mm Silver Copper Wire
Needle Nose Plier
Round Nose Plier
Stainless-Steel Scissor

Instructions on how to make the chain shoulder jewelry:
Step 1: Attach beads onto a rectangle filigree
1st,use glue gun to attach a 14x4.5mm pink faceted flatback cabochon onto the middle part of a 40x53mm silver rectangle filigree finding;
2nd, cut a piece of 0.5mm silver copper wire and thread 9 6mm white round pearl beads;
3rd, make a circle along the pink faceted flatback cabochon with the pearl beads by crossing the left cooper wire through the rightmost white pearl bead and wrapping the copper wire onto silver rectangle filigree;
4th, use glue gun to attach 3 18x13x4mm clear faceted drop cabochons on top of the silver rectangle filigree and at the bottom of the silver rectangle filigree respectively (as shown in the picture).

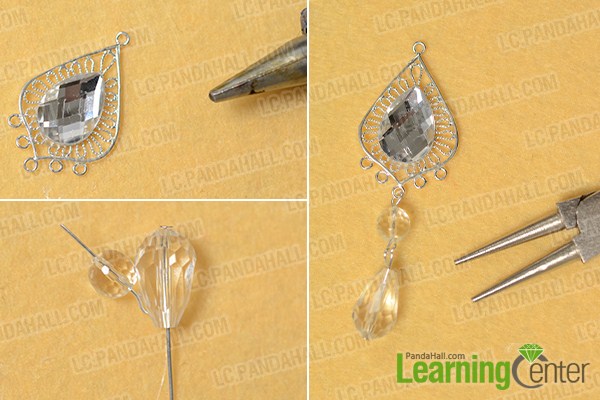
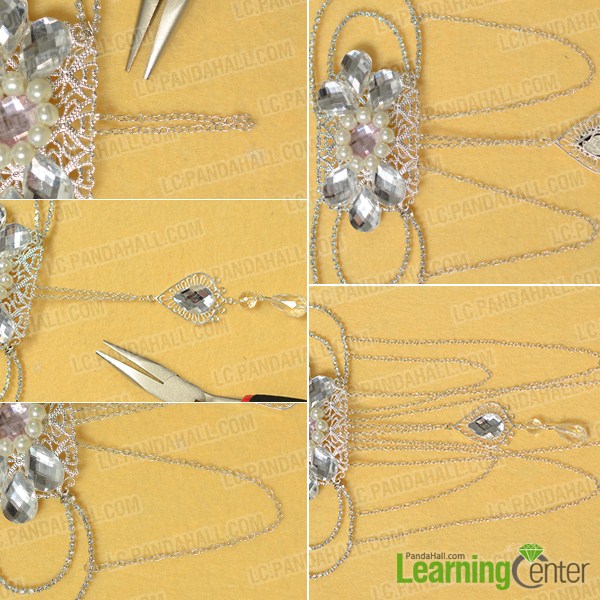
Step 2: Make the drop bead pattern for the chain shoulder jewelry
1st, use glue gun to attach an 18x13x4mm clear faceted drop cabochon onto the middle part of a silver oval filigree;
2nd, combine a 15x10mm clear faceted oval bead with e silver headpin. Then, combine an 8mm clear round faceted bead with a silver eyepin;
3rd, make a loop on the other end of the headpin and eyepin. Then, add the bead pattern below the silver oval filigree (as shown in the picture).
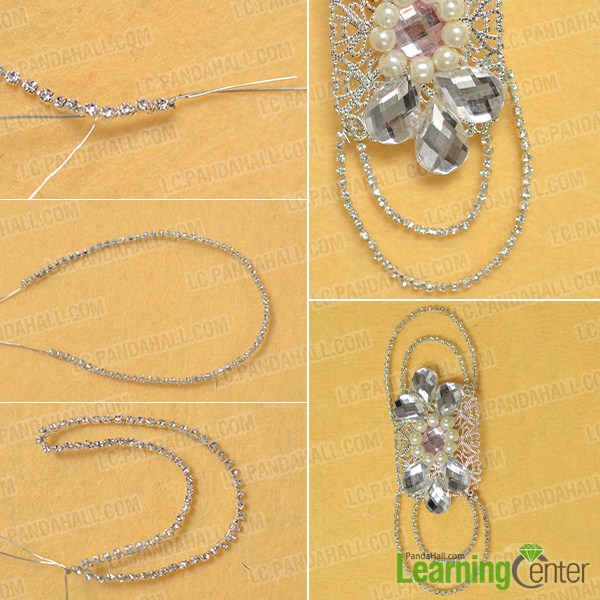
Step 3: Add silver chain and brooch cabochon
1st, cut a piece of silver rhinestone chain, a piece of 0.3mm silver copper wire and a piece of 0.5mm silver copper wire respectively. Then, combine the silver rhinestone chain with the 0.5mm silver copper wire by wrapping them with 0.3mm silver copper wire(as shown in the picture);
2nd, combine the two ends together and twist the rhinestone chain;
3rd, add it on one end the silver rectangle filigree by wrapping the linking parts with copper wire. Then, cut the excess copper wire;
4th, refer to the above steps to add another similar rhinestone chain on the responding end (as shown in the picture);
5th, cut a piece of silver twist chain and add it on one side of the silver rectangle filigree (as shown in the picture);
6th, add the drop bead pattern made in Step 2;
7th, cut another piece of silver twist chain and combine one end with the silver rectangle filigree and the other end with the rhinestone chain;
8th, refer to the 7th step to add a similar chain on the corresponding side;
9th, refer to the 7th step to add a silver chain on the two sides respectively. Then, add a silver chain in the middle (as shown in the picture);
10th, use glue gun to attach a15x19x4mm silver brooch cabochon on the back of the silver rectangle filigree.

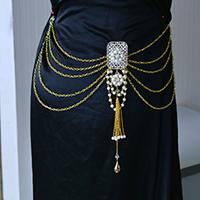
Here is the final look of the chain shoulder jewelry.
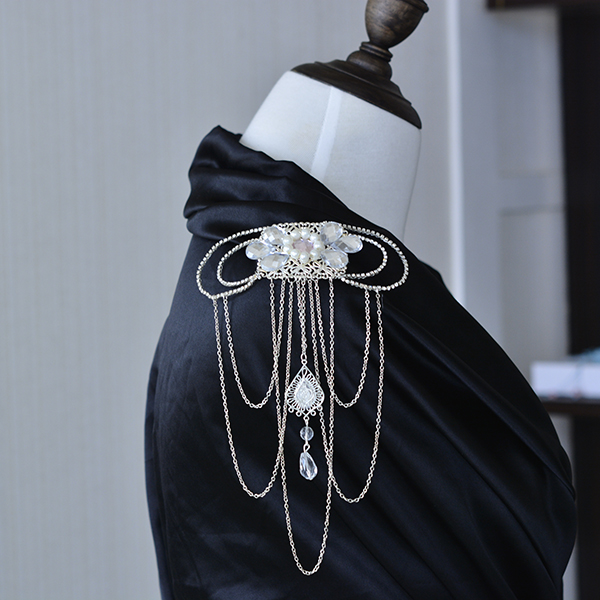
This chain shoulder jewelry looks elegant, right? As you can see from the above instructions, DIY this chain shoulder jewelry doesn't require much professional techniques. If you are interested in this DIY project, don't hesitate to have a try.