- Comments (0)
- Aug 06, 2015
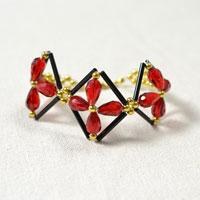
Jewelry Making Tutorial on How to Make Pearl Bracelet Designs
Summary: This is a guide on how to make pearl bracelet designs and I will show you a red pearl statement bracelet making tutorial.

Pearl beads are widely adopted in jewelry making and there can be various designs in pearl jewelry. Today I chose red pearl beads to make a vintage statement bracelet. As you can see from the picture, with a big pendent, this red pearl bracelet design is stylish but decent.
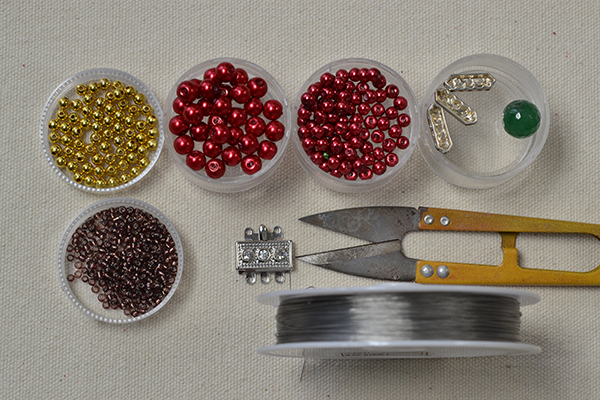
Materials needed in the red pearl statement bracelet DIY project:
Green Gemstone Jade Beads
Gold Bead Spacers
Triple Strand Box Clasp
Brown Seed Beads
6mm Pearl Beads
4mm Red Pearl Beads
Tiger Wire
Bead Ending Clasp
Scissors
Instructions on making the red vintage bracelet:
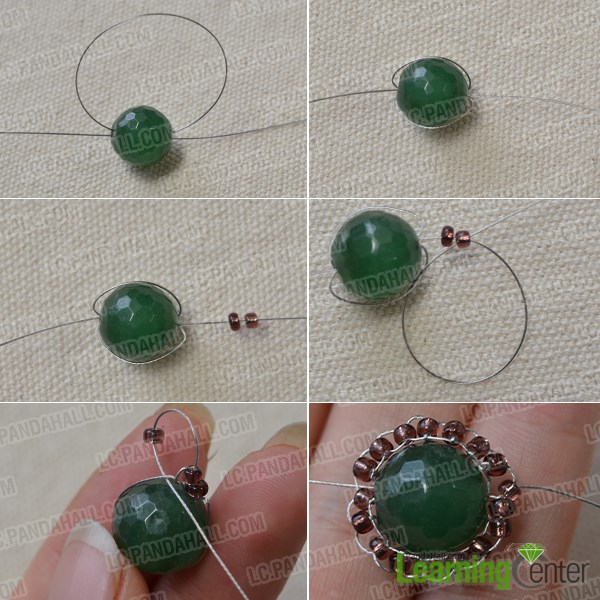
Step 1: Bead a pendent core
1st, snip off a long tiger wire, slide a green bead to the middle, and thread both ends through the bead's hole and tighten up;
2nd, slide 2 brown seed beads, then stitch the wire across the circle around the green bead (as shown in the picture) and also the second seed bead;
3rd, thread the wire across the wire on the other half circle and tighten;
4th, repeat the above process to stitch a brown seed bead surround over the green bead.
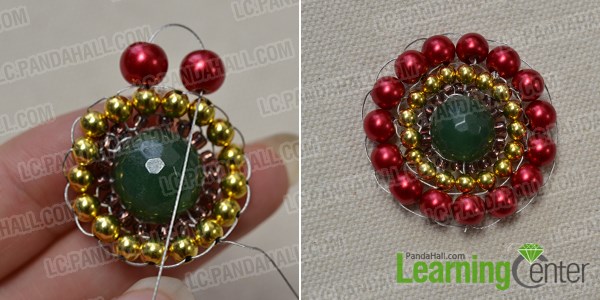
Step 2: Stitch a gold loop
1st, slide 2 gold spacer beads, and then thread the wire through the jump at beside and the second gold bead;
2nd, keep stitching as above step to finish the gold layer loop.
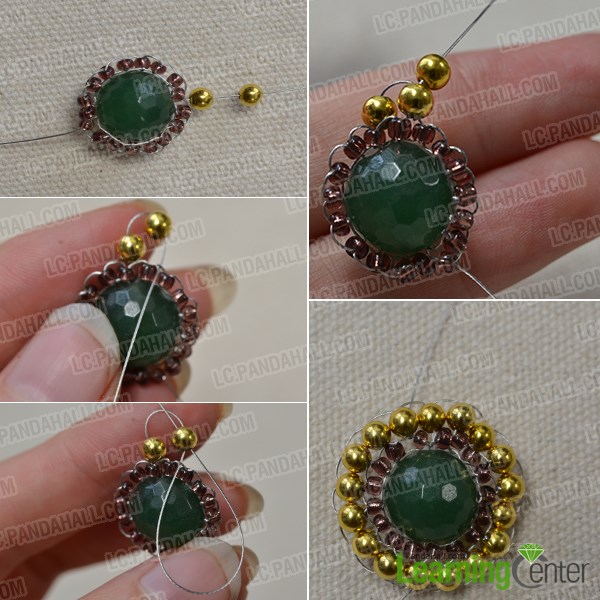
Step 3: Bead the last layer loop
Continue to slide 2 red pearl beads, and stitch the pattern as the way you did in step 2.
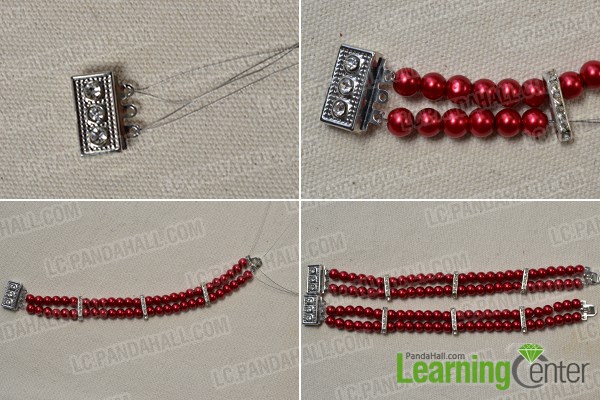
Step 4: Make stranded pearl chain
1st, prepare 2 triple strand box clasps, 6 links and 2 ending clasps;
2nd, hook 2 wires to 2 holes on the side respectively and slide beads on it;
3rd, slide beads on both wires and insert a link after every 6 pearl beads.
Step 5: Finish the whole retro red beaded bracelet
1st, snip off a short wire, insert the wire through 4 pearl beads as pictured;
2nd, slide 5 beads on both wires, and then link with the pendent by stitching the wires through the 2 beads respectively (as shown in the picture);
3rd, stitch both wires along the way downside until they reach the bottom of the pendent;
4th, slide 2 4mm pearl beads, a 6mm pearl bead and another 4mm beads, and then separate the wires by sliding about 12 4mm beads to each;
5th, finish the loop by crossing the wires through the last bead. Tighten up and trim off the extra wires.

Just enjoy the final look of this red retro bracelet with me!

This red pearl statement bracelet suits for anyone in any situation. I sparked with this design from the vintage jewelry in ancient time. Anyway, I really hope this article would be helpful for those seeking for idea on how to make pearl bracelet designs.