- Comments (0)
- Jun 15, 2015
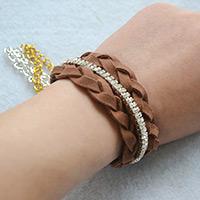
How to Make Adjustable Rose Colored Bracelets with Simple Knots
Summary: This tutorial is aimed at tutoring how to make an adjustable knotted bracelet with rose colored beads. Follow me to DIY a simple knot bracelet now.

An adjustable knotted bracelet is very useful since you can slide the knot according to your need. It is easy to make this rose colored bead bracelet with simple knot. You just finish the steps below, and then you will make your own knotted bracelet!
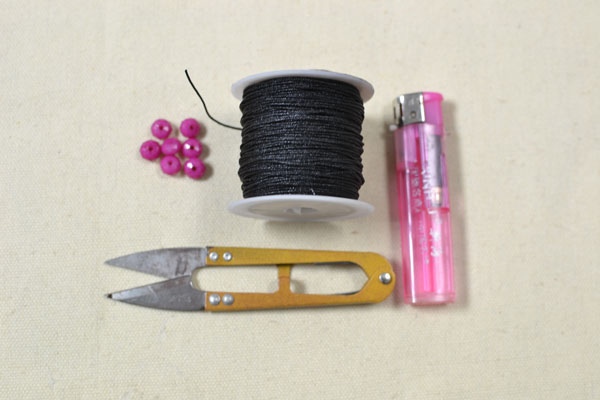
Supplies in making the adjustable beaded bracelet:
Rose Red Acrylic Beads
Black Nylon Thread
Scissors
Lighter
How to make the adjustable bracelet with simple knot:
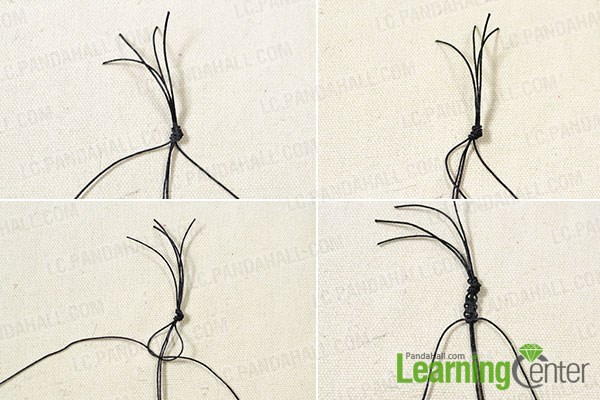
Step 1: Make the starting cord
1st, prepare 4 black threads (about 35cm) and tie an overhand knot, the knot is about 5cm far from the starting;
2nd, make 2 threads in the middle as the axis, tie a square knot with the two threads on sides and tighten;
3rd, continue to tie 3 square knots.
Step 2: Make the main cord
1st, string a rose colored bead to each thread on sides, and a bead to the combined threads in the middle ;
2nd, tie 2 overhand knots as pictured ;
3rd, string a bead to each tread on sides and a bead to the combined threads in the middle.

Step 3: Finish the main cord
1st, repeat the process above until finishing the 8th bead set.

2nd, make the ending cord as pictured.

Step 4: Make an adjustable knot
1st, make the 4 threads in a row and tie a square knot with the two threads on sides and tighten;
2nd, add 4 more knots to finish the adjustable cord.

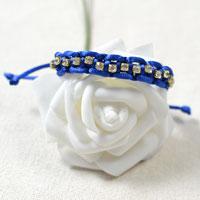
This is the final look of this rose colored bracelet with simple knots.

With these 4 simple steps, I have made a simple knot bracelet in 10 minutes. With rose colored beads to light up, the bracelet will be eye-catching. Now if you know how to make knotted bracelets, then go ahead to do it!