- Comments (0)
- Jan 16, 2015
Coiling Gizmo Projects – How to Make a Flower Coiled Wire Bracelet with Beads
Summary: If you enjoy making coiling gizmo projects, check out this jewelry tutorial to learn how to make a coiled wire bracelet. Hope you will like it!

This coiled wire flower bracelet is the only accessory you'll want on your wrist all spring and summer long. The tutorial provides pictorial step by step guides in constructing the bracelet using coiling gizmo projects. All you need are just some copper wires and some beautiful beads or accessories to decorate it. Now, let's start to learn how to make a wire coiled bracelet!
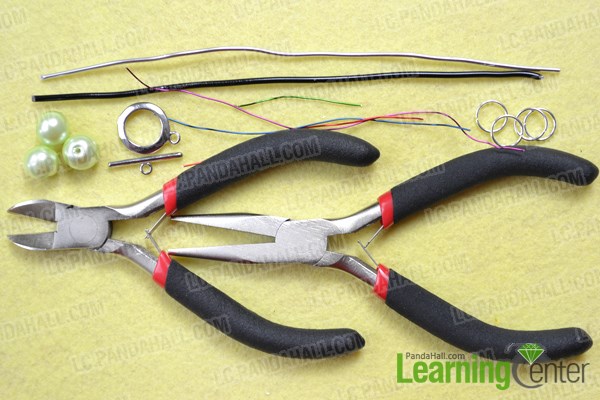
Materials needed in coiling gizmo projects:
10MM Pale Green Glass Pearl Beads
0.5MM Purple Copper Wire
0.5MM Red Copper Wire
0.5MM Green Copper Wire
0.5MM Blue Copper Wire
1.5MM Aluminum Wire
1MM Aluminum Wire
Toggle Clasp
10MM Jump rings
Instructions for how to make a coiled wire bracelet:
Step 1: Make the coiling gizmo projects
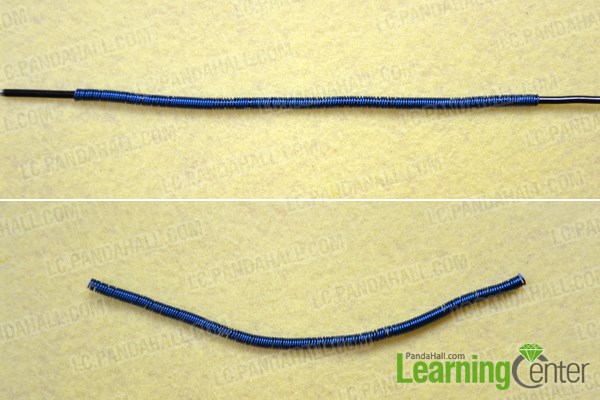
1st, cut off about 15cm 1.5mm aluminum wire, and then use a 0.5mm blue copper wire to wrap around the aluminum one 10~12cm;
2nd, cut the excess wire and remove the aluminum wire from the blue coils; this is the basic wire work;
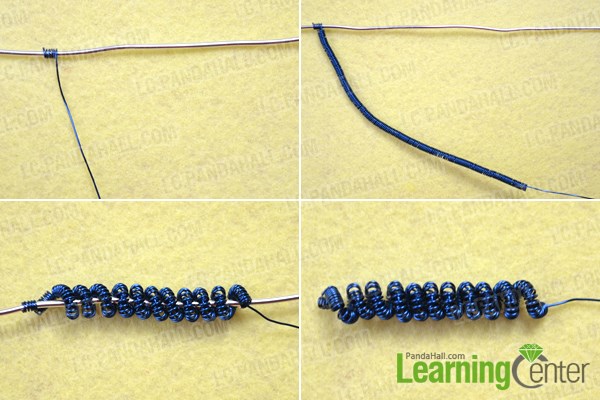
3rd, prepare a 30cm length of 0.5mm copper wire of the same color and a 15cm length of 1mm aluminum wire, and then use coiling gizmo style 1-spiral wire technique to make coiled wire; (Notice: do not wrap several turns at the end and do not cut the wires yet).
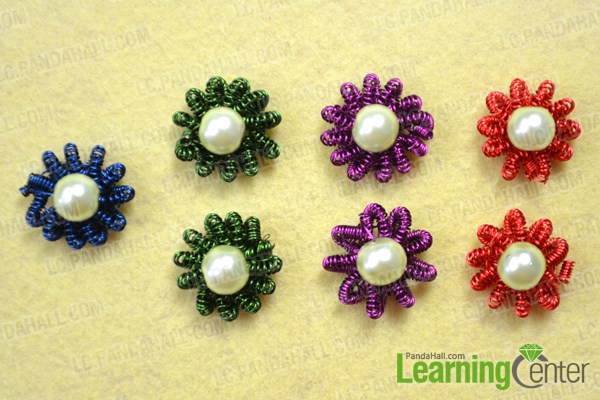
Step 2: Make the flowers for the coiled wire bracelet
1st, pass the excess wire through to the coiled wire as picture shows, and the tighten wires to form a circle, wrap several turns to joint both ends;
2nd, slide a 10mm pearl onto the wire, and put the wire over to the opposite side of the coiled circle;
3rd, secure the bead by wrapping the wire several turns around the wire inside coiled circle, and then cut the excess wire;
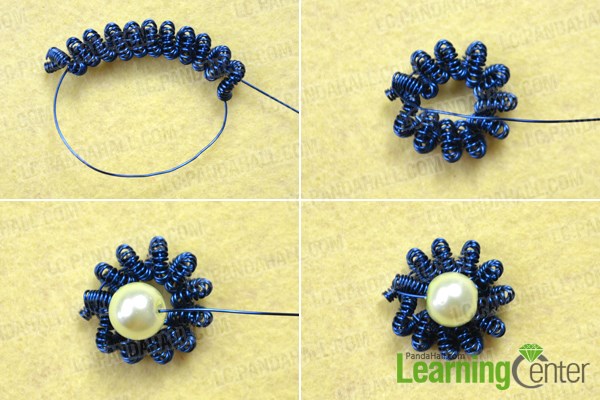
4th, choose the colors as you like, make another 6 or 7 coiled wire flowers in the same method.
Step 3: Finish coiled wire bracelet
1st, use 10mm jump rings to connect the coiled wire flowers together;

2nd, attach toggle clasp to each end.
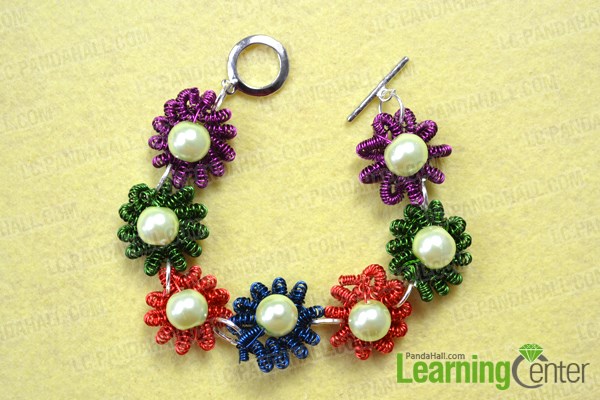
Here is the final look of the coiled wire bracelet:

Well done! This tutorial on how to make a coiled wire bracelet is done! You've probably never seen coiling gizmo projects like this one before, perhaps it will take you 2 hours or more, but the end result is definitely worth the wirework! Just have a nice try!