- Comments (0)
- May 05, 2014
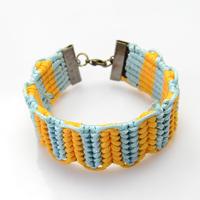
DIY Summer Bracelet – How to Make an Easy Braided Friendship Bracelet
Summary: In the summer friendship bracelet pattern, steps on how to make easy braided friendship bracelets have been elaborately showcased. Let’s braid a cool friendship bracelet for each other!

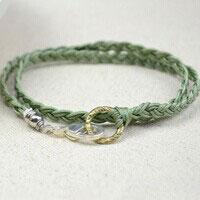
Inspired by the large amount of trendy friendship thread bracelets, I’ve determined to share this summer friendship bracelet as one of my latest collections. With some common nylon threads and a S-hook clasp, create the amusing rope bracelet patterns as simple as mastering the sliding knot. Follow me and you will get a cute braided friendship bracelet!
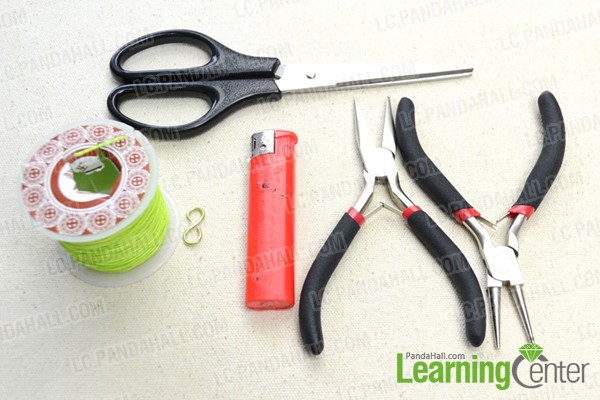
Things you’ll need in friendship thread bracelet DIY:
Nylon thread,1mm
S-hook clasp (or Aluminum wire)
Lighter
Scissors
Round Nose Plier
Flat Nose Plier
Details on how to make easy braided friendship bracelets
Step1: Braid a 3-strand tail and adjust S-hook
1st, use nylon 3 threads to braid a tail in necessary length, melt and seal the two endings with the lighter (to prevent thread from fraying);
2nd, close one side of the S-hook clasp with your plier;
3rd, thread the tail through the squeezed side, with 15cm long section.

Step2: fold half of the tail back to form a zigzag on the other side (unclosed side) of the S-hook clasp.

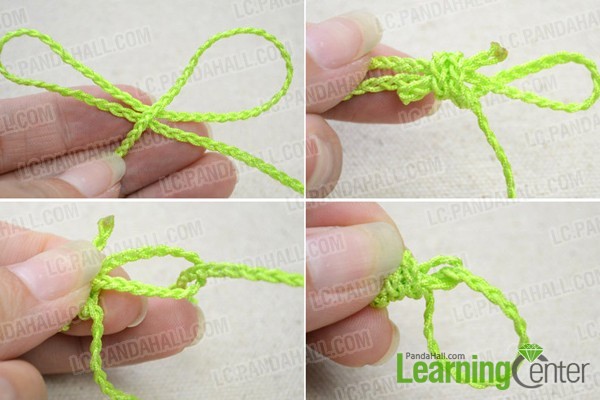
Step3: Slide knots to end the braided friendship bracelet
1st, start to tie the sliding knot by using the tail;
2nd, do repeat another sliding knot on the other side of rope cord;
3rd, trim and re-seal the endings.
See, here is a new DIY summer friendship bracelet!

Love this friendship thread bracelet version? Try making the braided friendship bracelet in person. Additionally, you can also try to use the leather cord or famous para cord as excellent instead of nylon threads. Just enjoy yourself and make adjustable friendship thread bracelet for each other.