- Comments (0)
- Feb 27, 2014
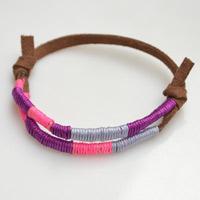
Step-by-step Tutorial on Making a Personalized Sliding Knot Friendship Bracelet
Summary: Here will show how to make a sliding knot bracelet step by step. Besides, this is also a quick guide for understanding the new use of sliding knot (as main jewelry beads here)! Easy and worth trying!

Generally, before one starts to make her own friendship bracelet, understanding how to tie a sliding knot may actually help while give the item an effective and perfect end. However, during making this sliding knot bracelet, I will show you another use of these versatile knots, that is, serve as focal jewelry beads. Has it arouse your curiosity now? Just check out this lots of knots friendship bracelet pattern instantly!
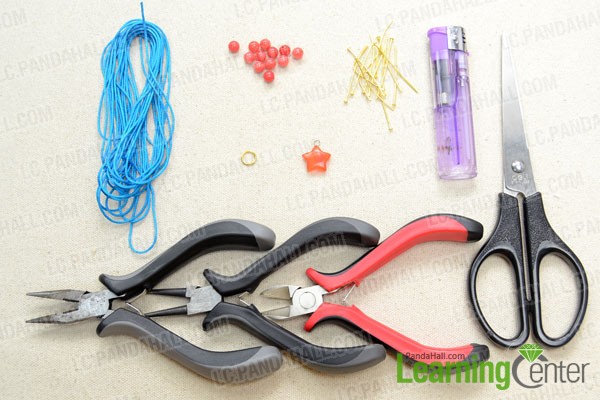
Supplies needed in the Chinese sliding knot bracelet:
1mm jewelry string Nylon Thread
6mm Mashan gemstone Beads
Star-shape Cat Eye Pendant
Small-sized Jumpring
Headpins
Lighter
Scissors
Beadthoven Wire Cutter Pliers
Round Nose Pliers
Side Cutting Pliers
How to make the sliding knot bracelet step by step?
Step 1: Prepare the jade bead dangles
1st, slide the 6mm jade beads onto headpins respectively;
2nd, make a wrapped loop over bead by using round nose pliers. 10 units are required for one standard bracelet.

Step 2: Tie the sliding knot "beads"
1st, cut a length of 1mm nylon thread to approximately 25~30cm (about 10cm longer than your wrist circumference);
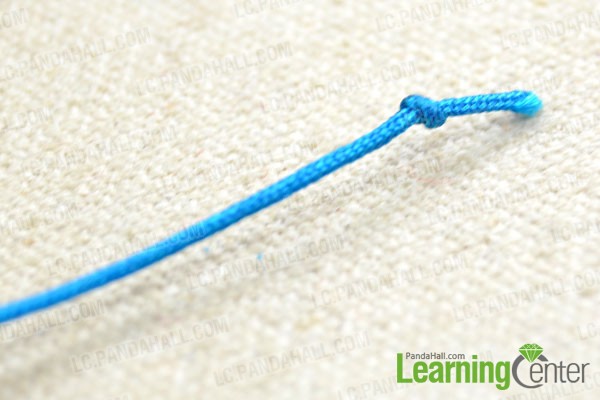
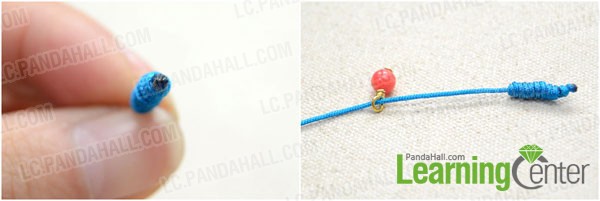
2nd, tie one or two overhand knot at end;
3rd, take the rest 1mm nylon thread coil (working end)and tie a sliding knot against the shorter one (holding end);
4th, tighten the two working ends snugly. Push the sliding knot towards the end of thread;
5th, remove the excess on working ends;
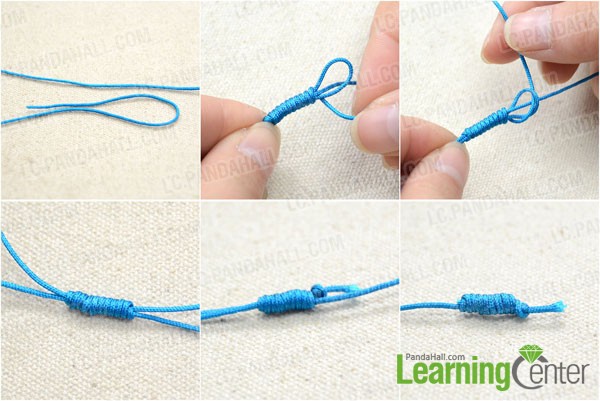
6th, melt the leftover thread at one end of holding end and then string one bead dangle;
7th, tie another sliding knot "bead" about 5cm away from the first one;
8th, string another bead dangle;
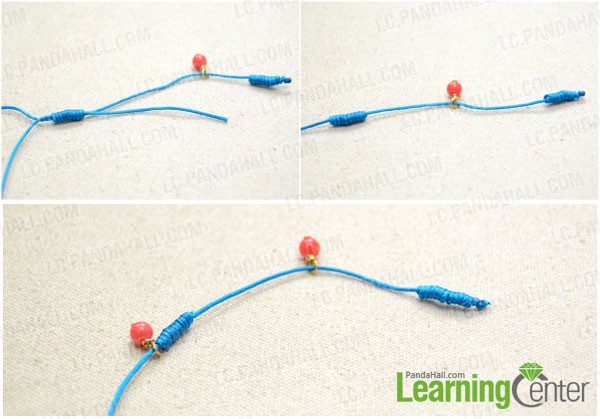
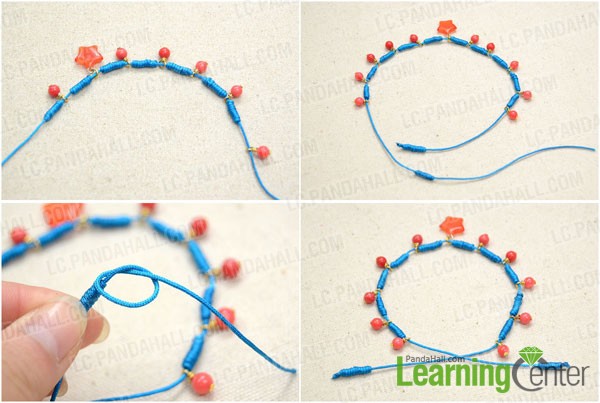
9th, repeat tying the sliding knot "bead" and stringing the bead dangle (in the center, add the star pendant instead);
10th, after making the final sliding knot "bead", secure the end by another two overhand knots as did in starting. Then, trim off the excess and seal by using lighter.
Step 3: Make an adjustable closure
1st, overlap the two 5cm-long thread parts;
2nd, take a new length of thread and tie another sliding knot;
3rd, reserve 3mm tail at end. Melt and seal with lighter.
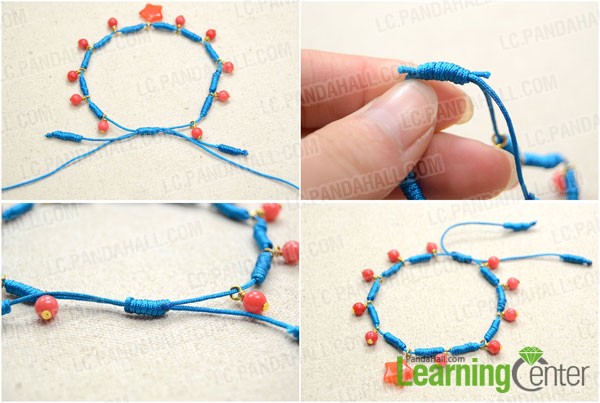
Done!

The Chinese Sliding Knot, as a well-known adjustable knot, is quite easy to make yet gives great look. Furthermore, we will continue updating more demonstrations on making your own beads by using string and easy knot tying techniques!