- Comments (0)
- Jan 12, 2014
1-minute DIY Project on Making an Adorable Ribbon Bracelet for Friends
Summary: To make a braided ribbon bracelet you’ll need only 1 ribbon and 1 minute. With the different ribbon you choose, you can make a large amount of beautiful ribbon wristbands as quick as you can.

Divide one wide ribbon into three parts, then braid them together and you’ll get a ribbon wristband within 1 minute. Besides, you can turn any of your favorite beads into dangles for making unique braided ribbon bracelets. Here we go!
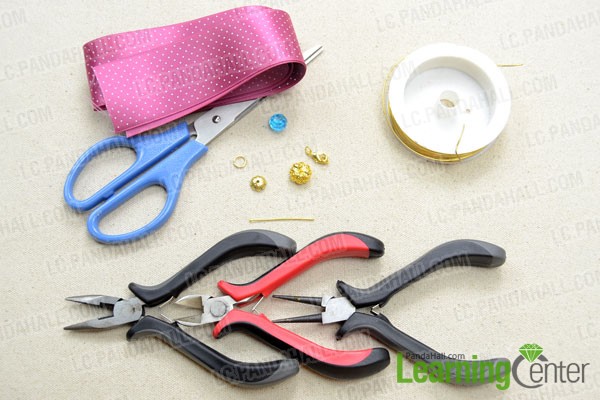
Supplies needed for making the braided ribbon bracelet:
Wide Satin Ribbon
Faceted Round Glass Bead
Metal Pendant
Bead Caps
Jumpring
Headpin
Lobster Claw Clasp
0.8mm Copper Wire
Scissors
Wire Cutter Pliers
Side Cutting Pliers
Round Nose Pliers
How to start the braided ribbon bracelet?
Step 1: Divide the ribbon into three equal strips.

Step 2: Braid them into a common 3-strand plait.
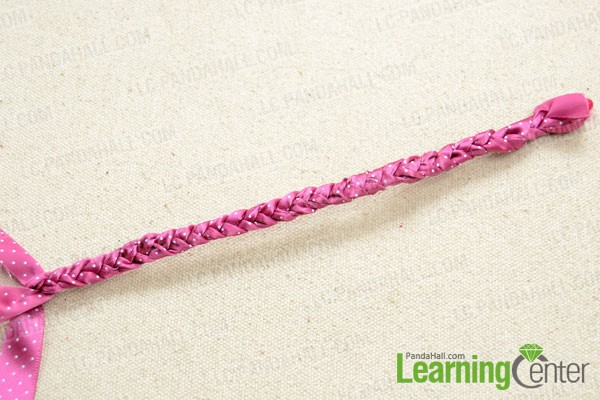
Step 3: Tie an overhand knot with one strand when get a comfortable bracelet length.

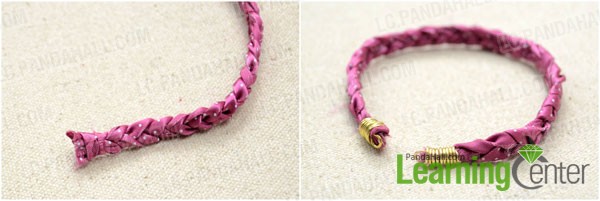
Step 4: Trim off the excess ribbons. Make two cord ends by using the 0.8mm brass wire.
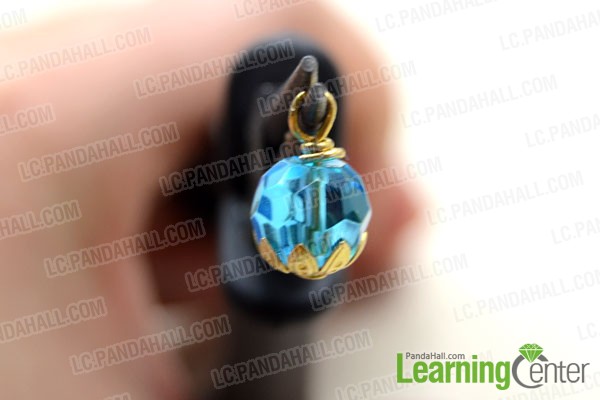
Step 5: Make a decorative dangle with headpin, glass bead and bead cap.
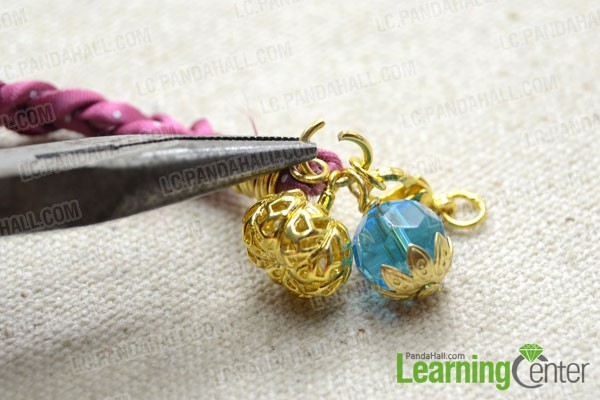
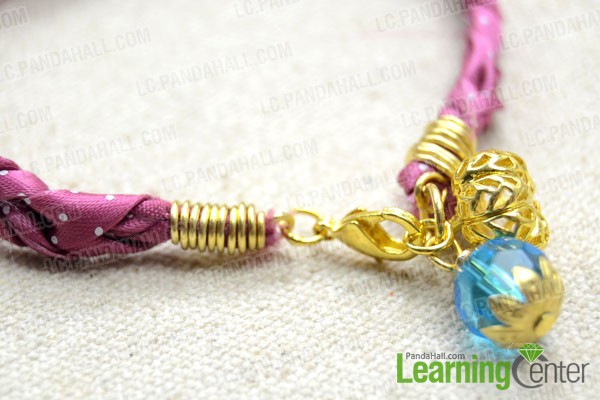
Step 6: Open a jumpring, attach the clasp, beaded dangle and selected pendant on one end of the bracelet. Close the jumpring.
Step 7: Connect the other jumpring on clasp with other end of bracelet.
Done!

What makes these braided ribbon bracelets amazing is how diversified they are. Besides, you can extra diy a bevy of bracelets with ribbon and pearl or a hardware element. Just make and stack!