- Comments (2)
- Jan 07, 2014
Learn to Make a Basic Right Angle Weave Bracelet for Valentine’s Day
Summary: How to make a right angle weave bracelet? Here we make it easier to understand this beading technique step by step. Besides, a brilliant combination for the coming Valentine’s Day!

If you’re just getting started to explore with bead and wire, try making this pretty pink and green bracelet. You can learn to make a basic right angle weave bracelet while practicing this beaded flower bracelet pattern. Furthermore, this creation makes a great gift for a girlfriend with the approaching of Valentine’s Day!
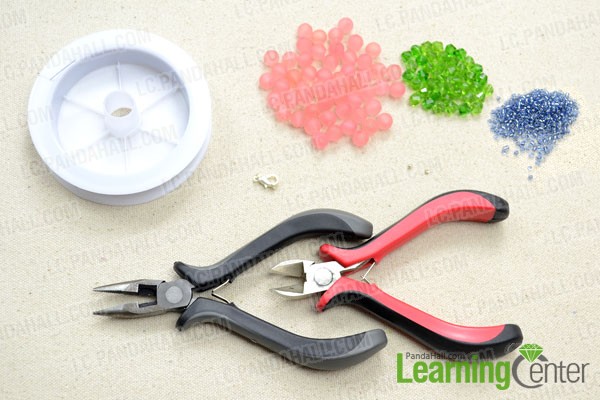
Supplies needed for making the right angle weave bracelet:
8mm Transparent Acrylic Beads
6mm Green Crystal Beads
3mm Round Seed Beads
Crimp Bead
Lobster Claw Clasp
0.38mm Tiger Tail Wire
Wire Cutter Pliers
Side Cutting Pliers
Instructions on making the right angel weave bracelet:
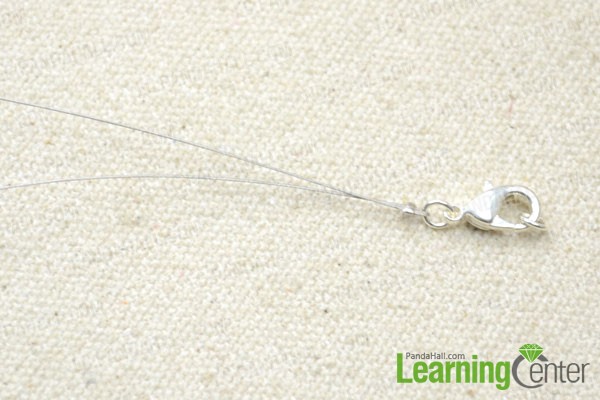
Step 1: Prepare the wire
Cut a length of tiger tail wire to approximately 80cm. string the jumpring on clasp to its center and anchor with a crimp bead.
Step 2: Make the bead flower bracelet pattern
1st, take the two wire ends to pass through one 3mm round seed bead from different directions. Pull the wires tightly;
2nd, on the left wire, string: one 6mm bicone crystal bead, one 3mm round seed bead and one 8mm transparent acrylic bead; on the right wire, string one 8mm transparent acrylic bead only;
3rd, pass two wire ends through one 3mm seed bead from two directions;
4th, on the left wire, string one 8mm transparent acrylic bead only; on the right wire, string: one 8mm transparent acrylic bead, one 3mm round seed bead and one 6mm bicone crystal bead;
5th, pass two wire ends through one 3mm seed bead from two directions;
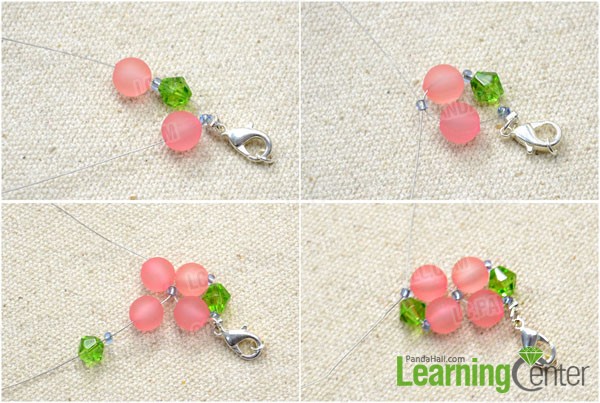
6th, repeat the processes 2nd, 3rd, 4th and 5th to get a comfortable length.
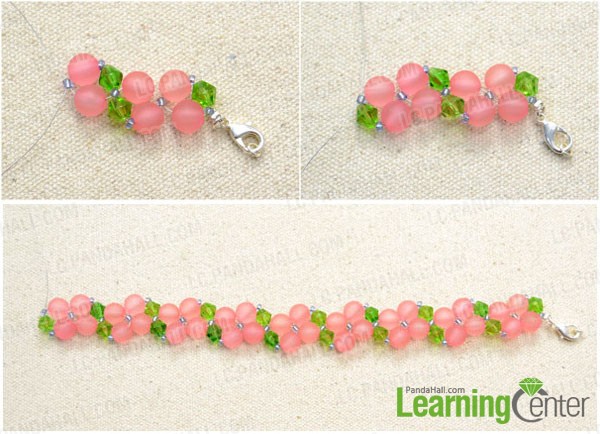
Step 3: Complete the beaded bracelet
1st, grab the remaining wire ends, slide one crimp bead, then thread through the matching jumpring on clasp. Finally, pass back through crimp bead. Tighten the wire and squeeze the crimp bead with pliers;
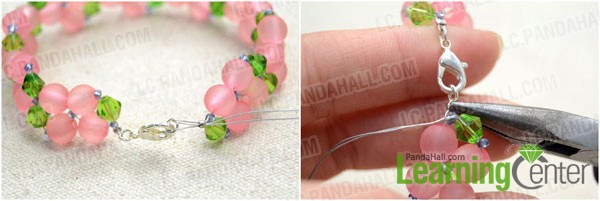
2nd, get the leftover inches of wire stuck by threading through adjacent beads according to the beading path.

Done!
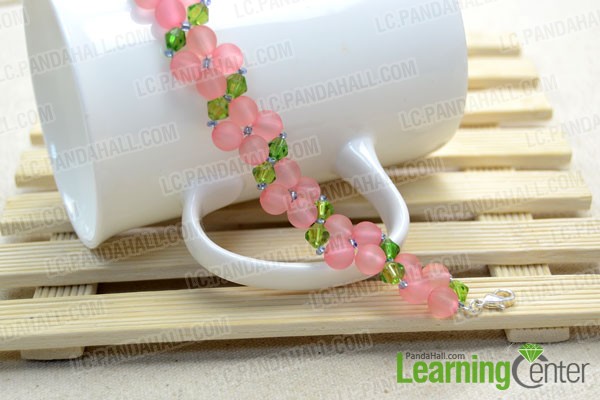
So, have you seen some beaded flower bracelet patterns around and thought about making your own? With the basic right angle weave stitch technique, a variety of beautiful beads, and you are ready to go!


Comments (2)
-

-
Oct 24, 2016 at 02:00 AM Max chen
i can't buy the materials
-

Oct 24, 2016 at 08:06 PM Sunny Smith Max chen
You can take a look at pandahall.com :-)
-


