- Comments (0)
- Nov 24, 2013
Quick Steps to Make Personalized 3-Strand Pearl Bracelet
Summary: A pearl cuff bracelet always looks elegant. In this tutorial, you only need a few simple materials to make such a beautiful 3-strand bracelet with only a few materials.

This 3-stand pearl bracelet is quite simple to make, as no jewelry-making skills and techniques involved, so even beginners can finish it easily. Here let’s start to make a 3-strand pearl bracelet.
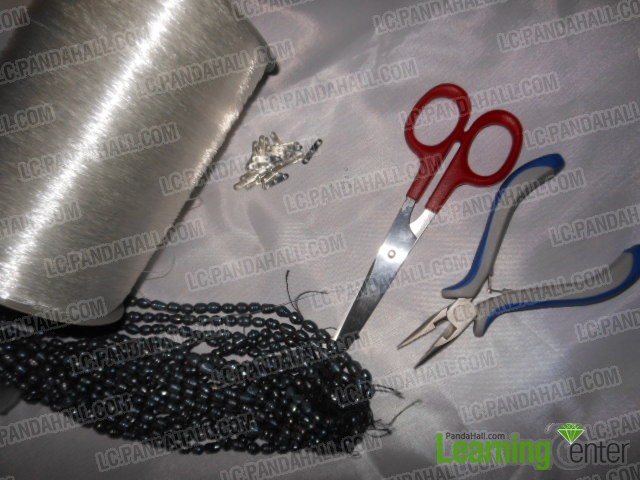
Materials needed for making 3-strand pearl bracelet:
Pearl beads strands
Brass crimp beads
Crystal Thread
Iron spacer with 3 holes
Scissor
Plier
How to make a 3-strand pearl bracelet?
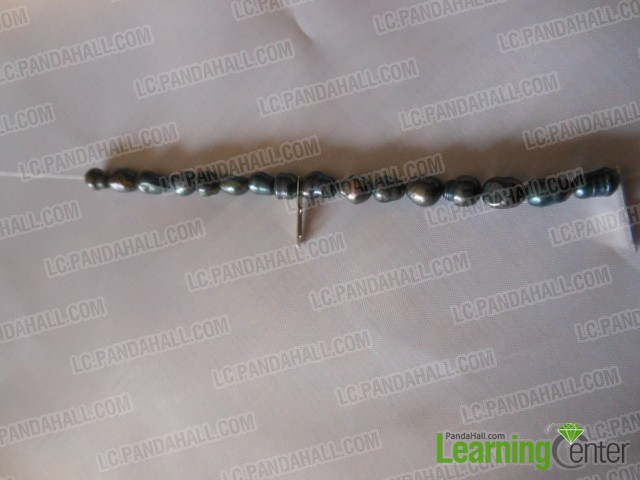
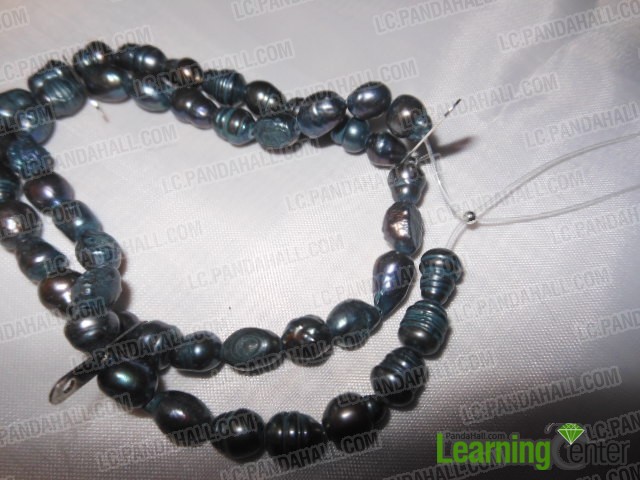
Step1. Cut 3 crystal threads about 25-30 cm in length. Put on 8 pearl beads and 1 iron spacer with 3 holes, and then put on another 8 pearl beads.
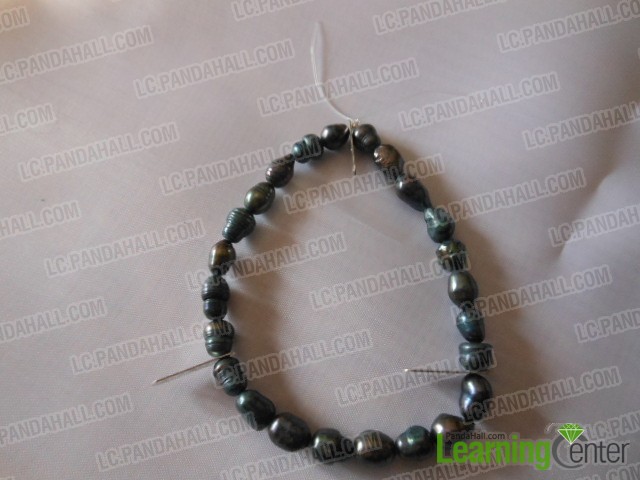
Step2. Again put the third iron spacer with 3 holes and a third bunch of 8 pearl beads. The two ends of the wire are inserted into a brass crimp beads. After connecting the two ends, cut the surplus thread.
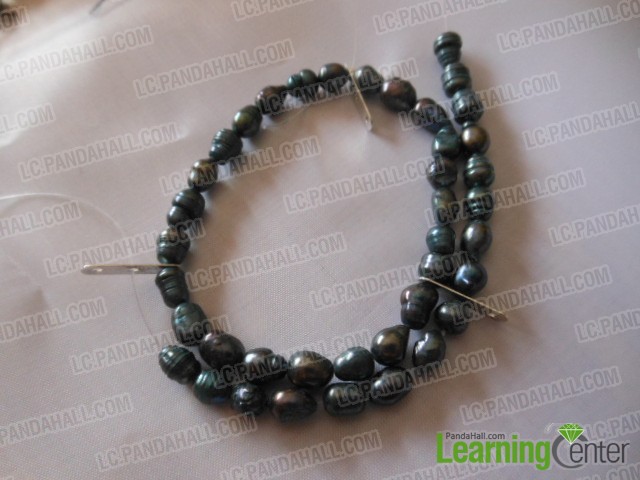
Step3. Put on the thread of 8 pearl beads and insert it into the second hole of the iron spacer with 3 holes, and repeat until it meets the other end of the wire. Insert the ends of a brass crimp beads and connect the two ends to finish the second pearl circle.
Step4. The same applies to the last strand.
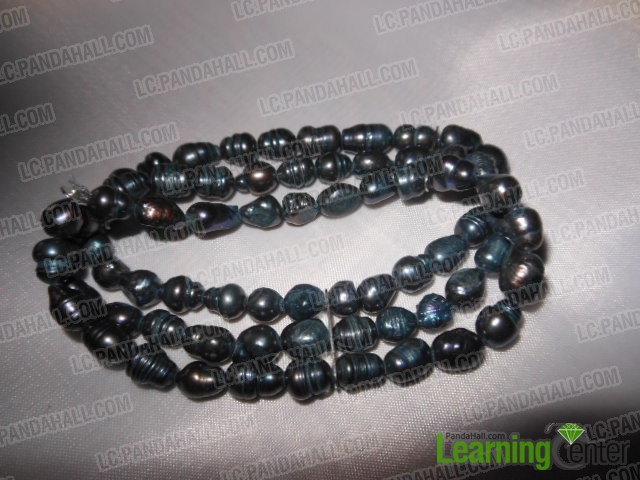
Step5. At last, gather the three strands of pearl beads by knotting the crystal threads tightly.

At this time your pearl cuff bracelet is finished easily.
So the 3-strand pearl bracelet can be finished so fast, and your hard work proves to worth it a try, right? You can show your friends the beautiful bracelet or even teach them how to do. Hope you can enjoy making your own jewelry crafts.