- Comments (0)
- Nov 20, 2013
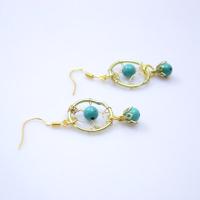
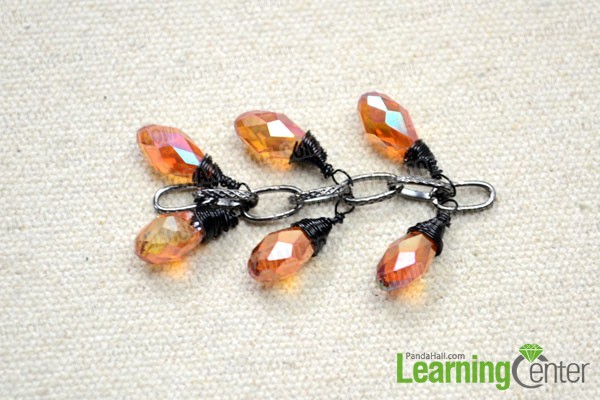
Pictured Instructions on Making Vintage Chain Earrings with Beads
Summary: This is a step-by-step instruction that shows you how to make long chain earrings in vintage tone. No skills required except one wire wrapping technique: Covering a Briolette!

Autumn, a season for showing the glamour beside ears, have you bought a perfect pair earrings? If not, I may recommend you do a pair of vintage earrings all by yourself. In this project, I will show you how I work them by using a fabulous mix of black cross chain, sparkling orange electroplate glass beads and elegant turquoise beads.
Supplies needed in the DIY vintage earrings:
Drop Turquoise Beads
Electroplate Glass Beads
Iron Cross Chains
Earring Hooks
0.5mm Brass Wire
Side Cutting Pliers
Round Nose Pliers
Wire Cutter Pliers

How to start the chain earrings?
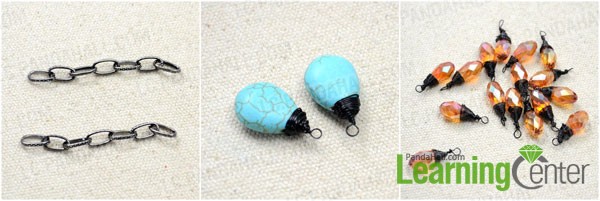
Step 1: Prepare the chain and beaded components
1st, remove 2 strands of 7-link chain;
2nd, take 2 drop turquoise beads and attach a bail by using the wire technique: Covering a Briolette;
3rd, take 16 electroplate glass beads and repeat the same processes.
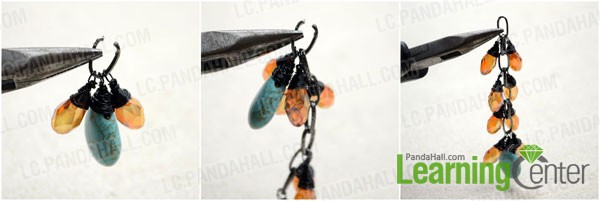
Step 2: Assemble the bead components with chain
1st, open the 1st link with pliers;
2nd, slide 1 electroplate glass bead unit per side and then close the link;
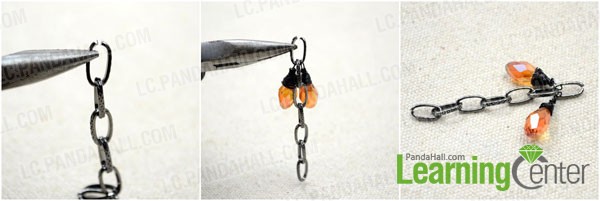
3rd, open the 3rd link, slide 1 glass bead unit per side and then connect with the 2nd link;
4th, add 2 glass bead units on the 5th link in same way;
5th, on the last chain link (the 7th one), add the turquoise bead unit.
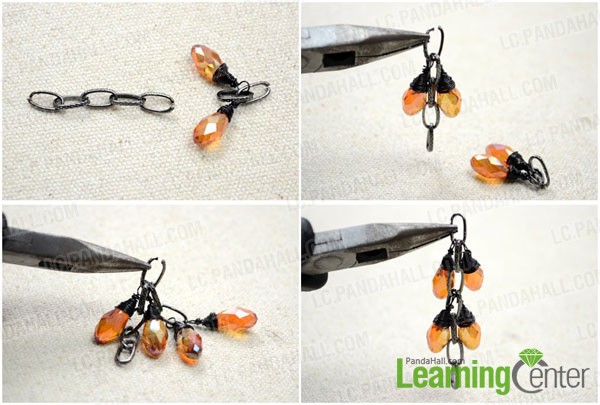
Step 3: Attach the earring hook
Open the loop on earring hook and then add the beaded chain. Finally, repeat the steps 1~3 for the other beaded chain earring!

They are fantastically beautiful, right?

An artful use of chain links forms the basis of these beautifully long vintage chain earrings while the glimmering electroplate glass beads and elegant turquoise beads create the most eye-catching embellishments. What's more, these beaded chain earrings are in a very harmonious hue and may go with any outfits.